DIY 1: pumpkins with flowers
This fashionable pumpkin is ready for its close up! Decorating squash with flowers is a timeless way to bring cheer and brightness into your home. You can use dried flowers to make your decor last even longer, if you wish.
For the floral pumpkin in our example, we used the following flowers: Helichrysum (straw flower), Broom, Hypericum, Clematis seed and Lagurus.
To make a floral pumpkin, you will need:
- Small pumpkins in the variety of your choice
- Fresh and/or dried flowers
- Metal pins
- Scissors or pruning shears
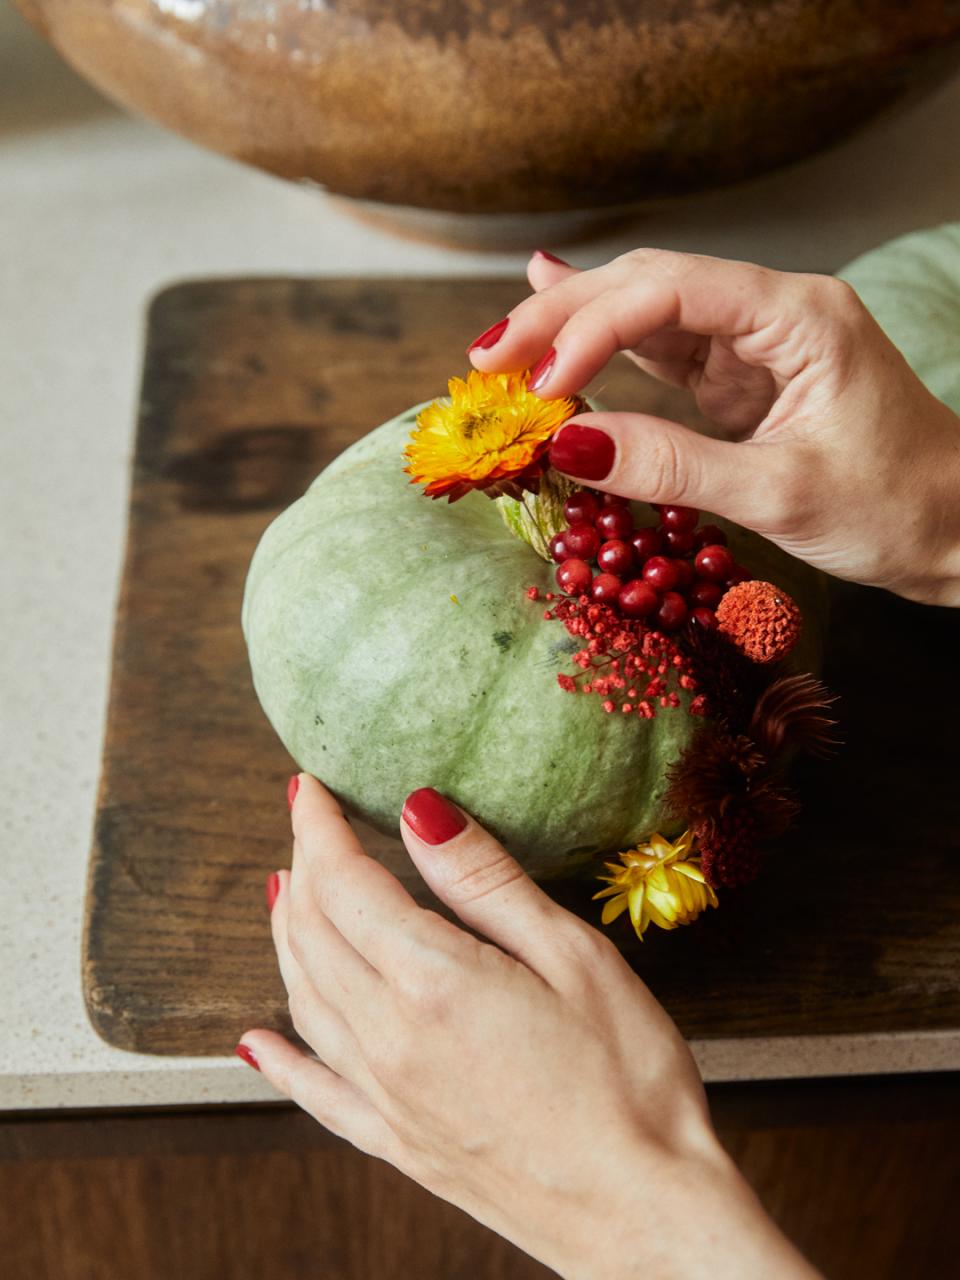
How to make pumpkins with flowers
Step 1
Collect several small pumpkins. We chose small Japanese pumpkins for their characteristic green shade. Orange pumpkins or any other squash also work beautifully.
Step 2
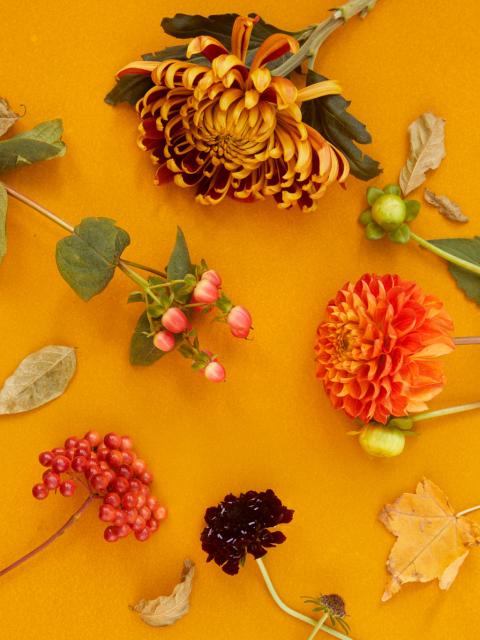
Choose classic autumn flowers that are appropriate for the season in terms of colour and feel, and dried flowers to complete the picture. You could make some pumpkins entirely with dried flowers, some with fresh flowers and some with a combination of both. The dried flower pumpkins last longer, but fresh flowers can easily be replaced and they bring a deliciously colourful touch to your pumpkin.
Step 3
Make sure that you cut the stems of the flowers as short as possible near to the flower itself - this will help the flowers display better.
Step 4
Stick a metal pin through the heart of the flower and attach it to the pumpkin. Make a garland of flowers from the top to the bottom. You can make up your own shape or spread the flowers all over the pumpkin, it's up to you!
Diy 2: painting pumpkins with flowers
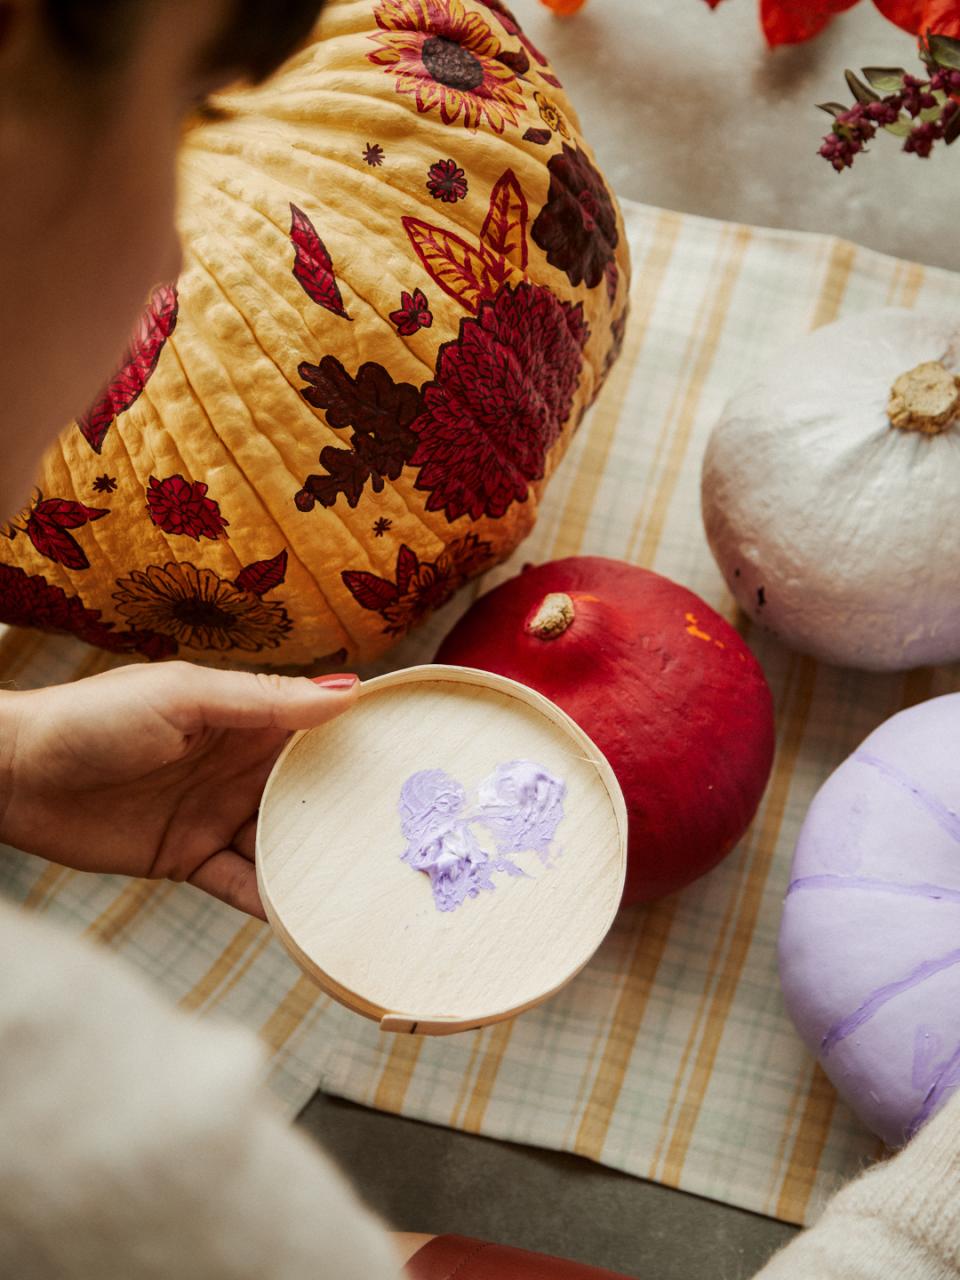
Do you love painting and being creative? Then this DIY is for you. Create your own artwork on a pumpkin and have fun with different colours and flowers! Check out the supplies and the step-by-step plan below.
Pumpkin painting supplies
- Pumpkin(s), e.g. orange pumpkins, gourds or butternut squash
- Classic autumn flowers, so you can paint from real life. If you don't have flowers at home, visit your florist, or find a picture to copy from
- Soft canvas
- Acrylic paint in different autumnal colours (such as reds, oranges, yellows, greens, browns)
- Optional: primer (this makes the paint adhere better)
- Different brushes (thick and fine)
- Optionally: waterproof marker
- Varnish (colourless protective agent in a spray can or jar)
- A container to put the paint in
- A glass of water to clean your brushes
- A sheet, placemat or something else to protect the table
- Paint apron (for the littler artists or more messy among us, to protect clothes and skin)

How to paint a pumpkin
Painting your own pumpkin doesn't have to be difficult. Follow the step-by-step plan below and create your own work of art!
Step 1
Collect one (or more) pumpkin(s). Type and colour don't matter too much, but it's helpful if the pumpkin's surface is relatively smooth. We choose a butternut squash for this project.
Tip: make sure there are no soft spots in the pumpkin's and that it's fresh as possible, to enable it to last as long as is feasible. It's also useful to choose a squash with a flat enough bottom to balance without needing support.
Step 2
Clean and dry the pumpkin with a piece of damp kitchen paper or a damp cloth. Use a soft, clean cloth to dry the pumpkin. Not drying it fully could encourage rot.
Step 3 (optional)
Give the pumpkin a primer. This can be done with a coarse brush or by spray painting. Paint the pumpkin all over and let the primer dry completely. This step isn't mandatory, but is recommended. Giving the pumpkin a coat of primer will ensure that your paint adheres better.
Step 4 (optional)
If necessary, paint your pumpkin in a base colour that matches the style you have in mind. Let the paint dry completely.
Step 5
Use a waterproof marker to make stencils for the flowers and leaves, if necessary. You can also start painting the flowers directly with a small brush. Tip: don't just think about the flowers themselves, but also about flower stems, branches and leaves. This gives an authentic feel.
Step 6
Let the paint on the pumpkin dry completely. Then varnish the pumpkin to protect it from outside influences and to slow down the rotting process.
Step 7
Give the pumpkin as a gift to a loved one, or give it a nice spot in your own home. This autumn work of art shines as a centrepiece on the table, on the windowsill and on an autumn altar.
More inspiration and autumn DIYs
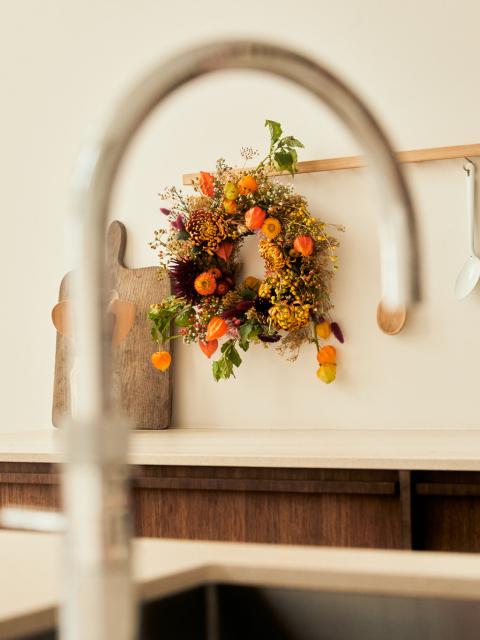
Can't get enough of flowers and pumpkins? Here are the most beautiful decorations for Halloween made with pumpkin vases and pots. You can get to work on making a wreath from classic autumn flowers and learn about the best autumn flowers to give to someone who's under the weather.


